
- Settings
- VAT
- Procurement Settings
- Procurement Master
- Purchasing
- Sales
- Stock
- Point of Sale
- Barcode
- Batch & Serials
- Account Master
Last Updated:January 15, 2020
Customers
In Customer, You can add, update, delete, print and view customer.
Adding “Customer” in Procurement Master
Click on the “Procurement Master“, in main menu then click on “Customer“. Customer pages will be displayed.
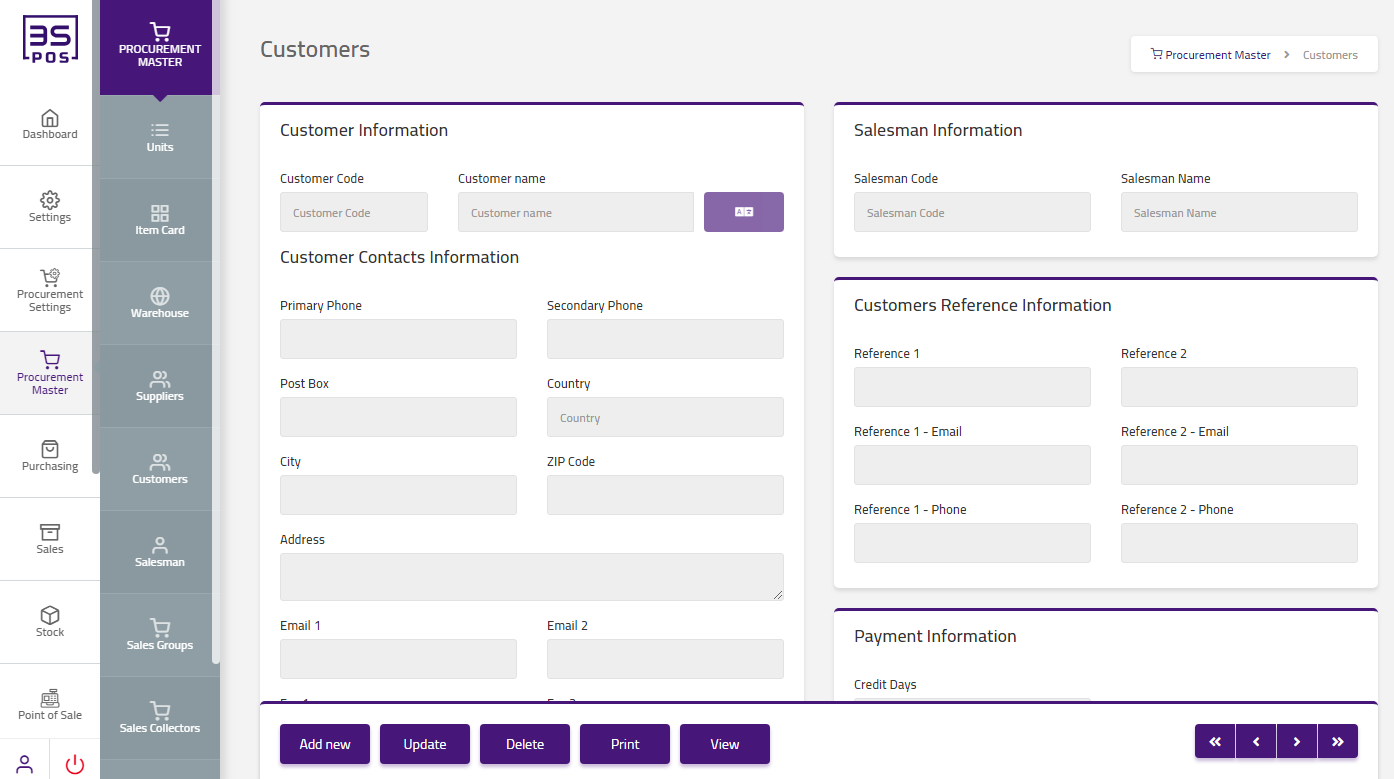
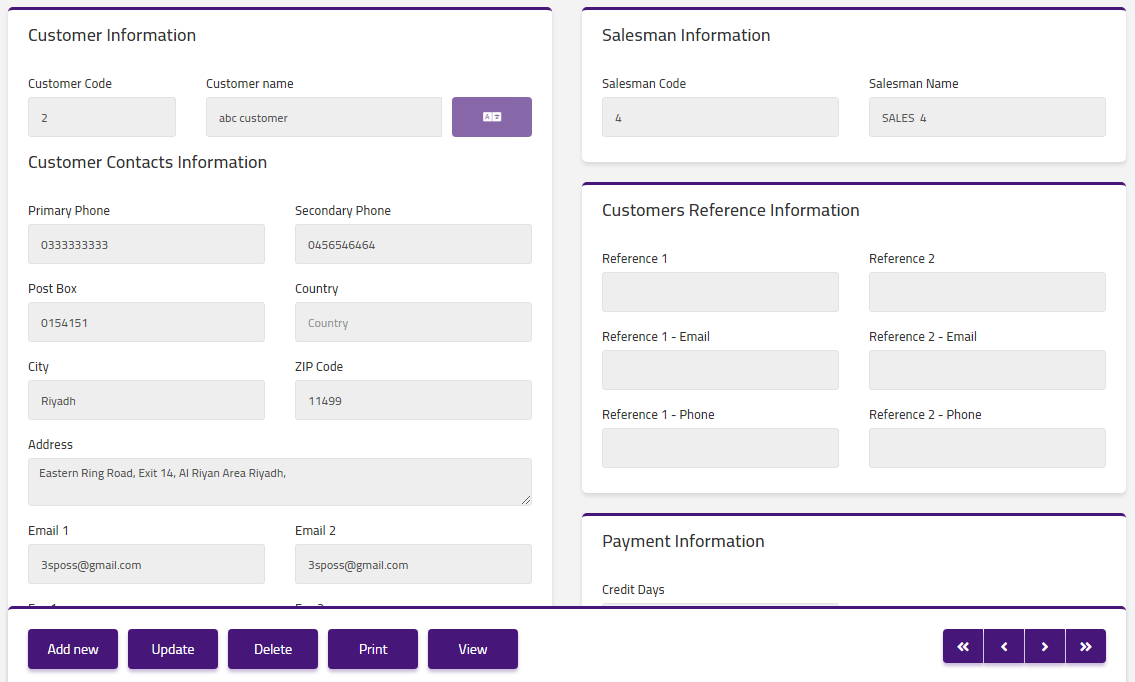
Click on “Add New” button in customer page.
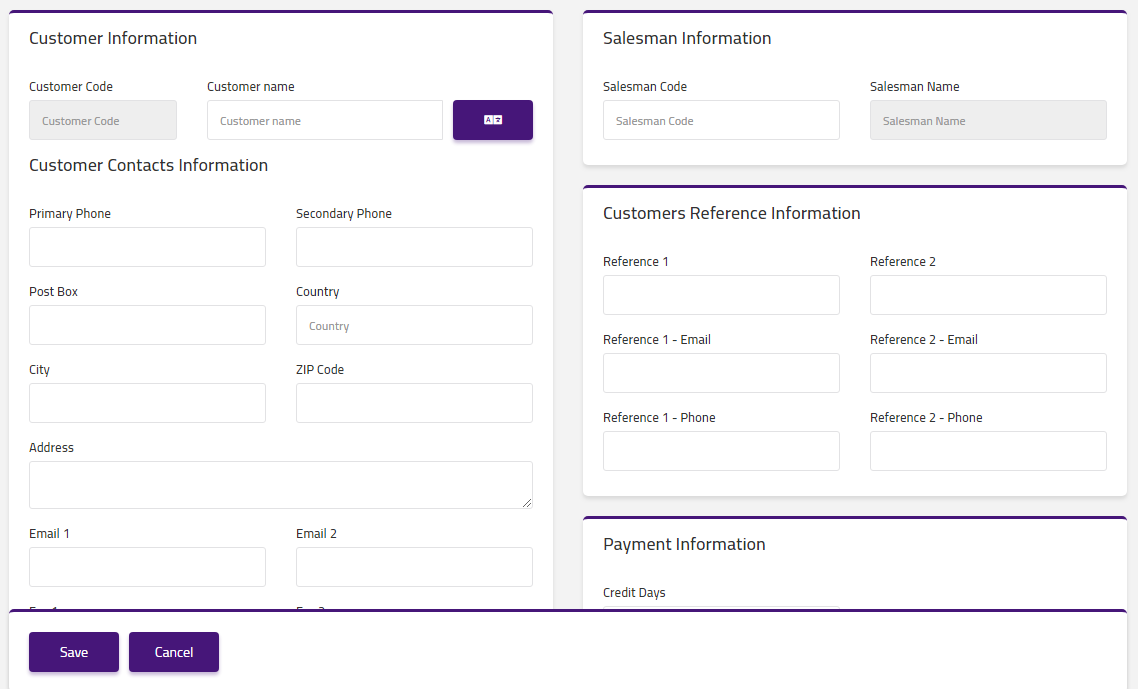
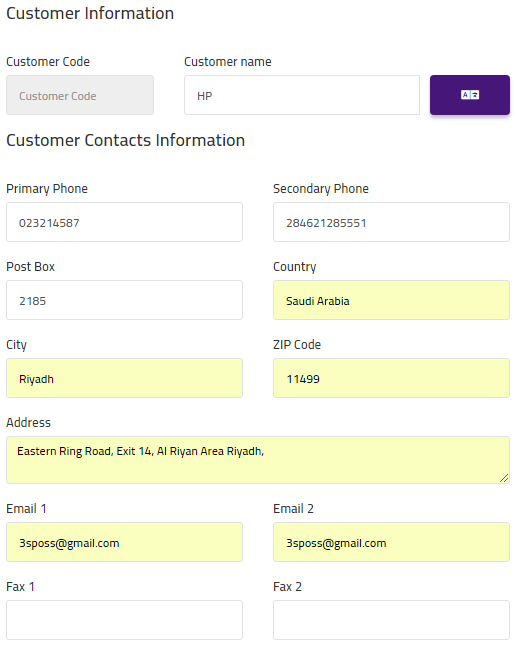
Enter customer name in “Customer Name” field input box and customer code will automatically be loaded in customer code input box. Enter primary phone in “Primary Phone” field input box. Enter secondary phone in “secondary Phone” field input box. Enter post box in “Post Box” field input box. Enter country in “Country” field input box. Enter city in “City” field input box. Enter ZIP code in “ZIP Code” field input box. Enter address in “Address” field input box. Enter Email 1 in “Email 1” field input box. Enter email 2 in “Email 2” field input box. Enter fax 1 in “Fax 1” field input box. Enter fax 2 in “Fax 2” field input box.
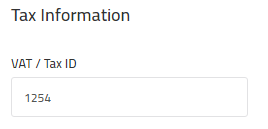
Enter vat/tax id in “VAT/TAX ID” field input box.
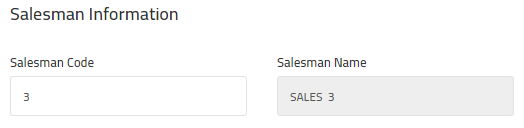
Enter salesman code in “Salesman Code” field input box and salesman name will automatically be loaded in salesman name input box.
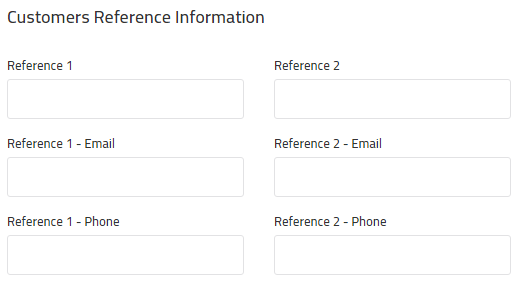
Enter reference 1 in “Reference 1” field input box. Enter reference 2 in “Reference 2” field input box. Enter reference 1-phone sin “Reference 1-Phone” field input box. Enter ZIP code in “ZIP Code” field input box. Enter address in “Address” field input box. Enter Email 1 in “Email 1” field input box. Enter email 2 in “Email 2” field input box. Enter fax 1 in “Fax 1” field input box. Enter fax 2 in “Fax 2” field input box.

Enter credit days in “Credit Days” field input box. Enter discount limit in “Discount Limit” field input box. Enter discount on payment in “discount On Payment” field input box. Enter credit limit in “Credit Limit” field input box. Enter account code in “Account Code” field input box and account name will automatically be loaded in account name input box.
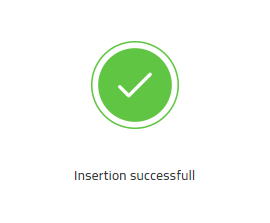
Then click on “Save” button and your information will be saved and confirmation message will be displayed on the page.
Edit “Customer” in Procurement Master
Click on the “Procurement Master“, in main menu then click on “Customer“. Customer pages will be displayed.
If you need to perform any Update or Edit operation in customer information then click on “Update” button.
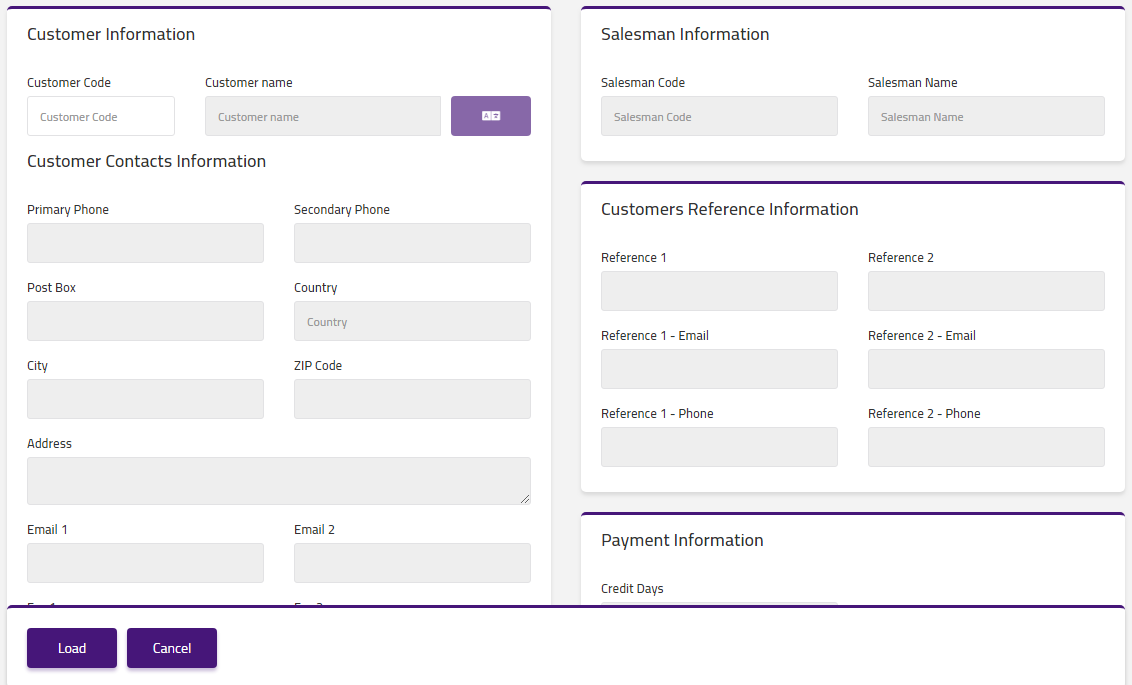
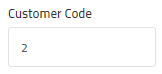
Enter customer code in “Customer Code” field input box.
Click on “Load” button then detail of specific customer will be shown in the table.

Make your desired changes in “Update Data“. After making all the changes click on “Save” button and your information will be saved. Confirmation message will be displayed on the page.

Delete “Customer” in Procurement Master
Click on the “Procurement Master“, in main menu then click on “Customer“. Customer pages will be displayed.
If you want to delete any record then click on “Delete” button.
Enter customer code in “Customer Code” field input box.
Click on “Load” button. Confirmation pop-up will appear. If you want to delete the record then you may click on “Yes” button and record will be deleted otherwise click on “No” button.
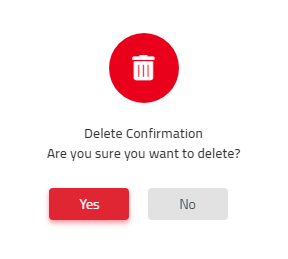
After deletion of record a confirmation message will be displayed on the page.

Print “customer” in Procurement Master
Click on the “Procurement Master“, in main menu then click on “Customer“. Customer pages will be displayed.
If you need to perform Print operation in customer information then click on “Print” button.
Enter customer code in “Customer Code” field input box.
Click on “Load” button then detail of specific customer will be shown in the table.
Click on “Print” button and your information will be printed.
View “customer” in Procurement Master
Click on the “Procurement Master“, in main menu then click on “Customer“. Customer pages will be displayed.
If you need to view operation in customer information then click on “View” button.
Enter customer code in “Customer Code” field input box.
Click on “Load” button then view of specific customer will be shown in the table.
- Account Master
- Batch & Serials
- Barcode
- Point of Sale
- Stock
- Sales
- Purchasing
- Procurement Master
- Procurement Settings
- VAT

|